
News
The Art of Needle Felting Easter Eggs: A Step-by-Step Guide
Apr
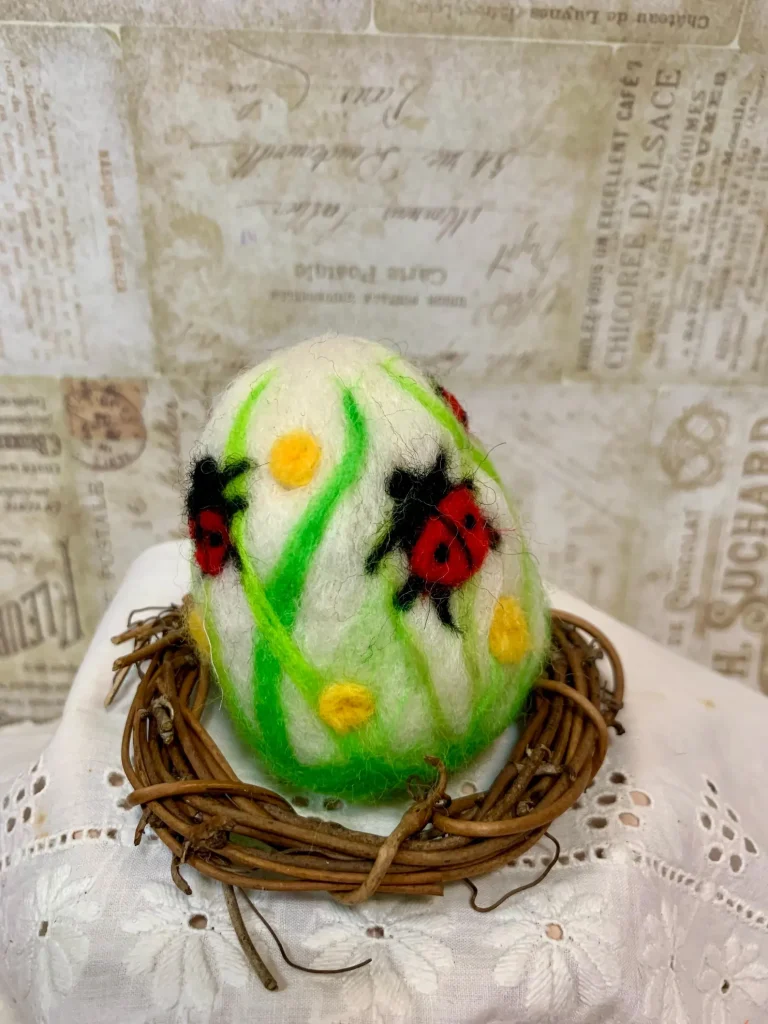
Needle felting is an art form that involves using a special barbed needle to push wool fibers into a solid shape. This technique is perfect for creating beautiful and unique Easter eggs. In this guide, we’ll take you through the step-by-step process of making your own wool felted Easter eggs, from start to finish.
Materials Required for Needle Felting Wool Easter Eggs:
-
Wool Roving: Choose soft wool in various colors to create your designs.
-
Felting Needles: A set of felting needles is essential for this technique. Choose a finer needle for delicate details.
-
Foam or Plastic Egg Molds: These are optional but help shape the wool into the desired egg form.
Step-by-Step Needle Felting Instructions:
-
Prepare the Base: Start by wrapping the wool roving around the egg mold to form a base layer. Use your felting needle to poke the wool into the foam egg. Continue until the wool is tightly felted around the mold.
-
Adding Decorative Patterns: Once the base is complete, use wool in different colors to add designs to your egg. Whether it’s stripes, flowers, or abstract patterns, the possibilities are endless. Simply layer the wool and needle felt it into place until it’s secure.
-
Refining the Shape: As you felt the wool, continue shaping the egg with your hands. The more you needle felt, the firmer and smoother the surface will become.
-
Finishing Touches: Once your wool felted Easter egg is complete, use a finer needle to add any additional details, such as flower petals, tiny dots, or even little faces for a whimsical touch.
-
Drying: If you’ve used any wet felting methods, allow your eggs to dry completely before displaying them.
Displaying Your Handmade Felted Easter Eggs:
Handmade wool felted Easter eggs are the perfect addition to your holiday décor. Display them in bowls, hang them on your Easter tree, or use them in a spring centerpiece. The soft, natural texture of the felt adds a charming rustic element to your home.